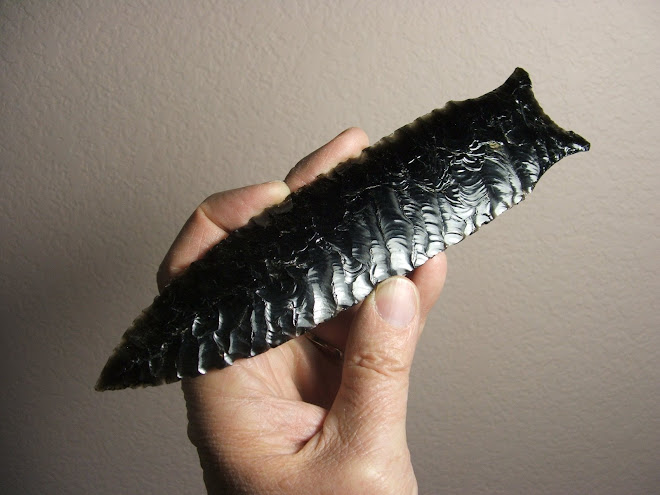
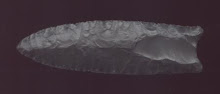
Once you select a chip of knappable stone (obsidian, flint, chert, jasper, etc.), a key step will be to choose which end of the piece is to be the point of the arrowhead. When you look at the smooth underside of the chip you will see a bulbous shape, rounded and slightly thicker than most of the flake surface, radiating away from the spot where the stone was struck to knock the chip off the stone. This is called the "bulb of percussion".
Usually arrowheads are made with the pointed end at the bulb of percussion, and the base with its notches is located at the other end of the chip. The secret is to use the portion of the chip which is essentially straight. Chips of stone naturally have some curve, as the chip follows the contour of the original stone surface. Yet, if you look at the chip in profile, from the side along the lengthwise direction of the chip, you can see the natural curve, and you can see what portion of the chip could be used, allowing a straight line to the arrowhead.
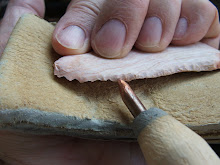
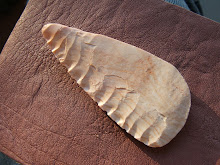
Now, you can use an antler tine to trim the chip to the general shape for the arrowhead. Lay the chip on a leather pad on your work bench. Place the smooth surface down. Then use the side of the narrow end of the antler tine to begin pressing at the thin edges, along the length of the chip, in a shearing motion along the edge. Hold the antler tine basically parallel along the edge and press down along the edge with the side of the antler.
Do not overlap the edge except for a tiny distance, and press down along the edge, breaking off small pieces to trim the thin, curved edges into a straighter line leaving a thicker amount of material along the edge. Just press enough to break small pieces off. You will need to hold the flake in place, but do not press down on it too much, as you can break it.
Odds are, you will break some chips; that is why I provide a dozen pieces in my Beginner's Knapping Kit. Each piece will teach you more about the process.
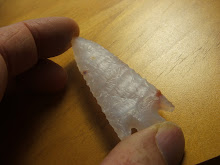
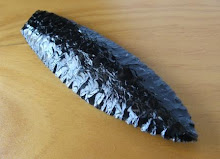
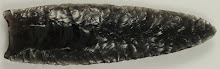
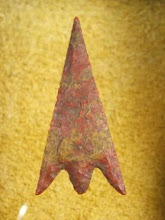
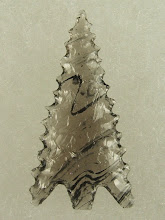
This trimming action can quickly provide a chip in nearly the size and shape of your finished point. You can trim it to straight edges in a triangular shape, or to curved edges in more of an oval configuration. Trim the base to fit your shape.
Next time we will discuss how to begin the pressure flaking to shape and sharpen your arrowhead.
F. Scott Crawford
Carrollton, Texas
You are invited to visit my web site for more background information and photographs related to the making of arrowheads: www.Arrowhead-MakeYourOwn.com
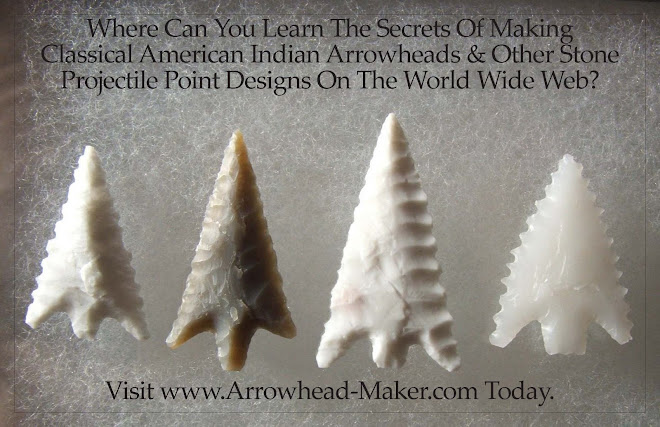
For fully photo-illustrated process information related to the making of an obsidian Gunther style arrowhead, plus photographs of a number of ancient and authentic Gunther type arrowheads, you are invited to visit my other web site: www.Arrowhead-Maker.com
Labels for Posted Content
- 2010 ACOTW Bound Collection (1)
- Agate Basin Spear Point (1)
- ancient artifacts (1)
- arrowhead collecting (1)
- Arrowhead Collecting On The Web (1)
- arrowhead kit (1)
- authentic arrowheads (1)
- blade cores (1)
- Bulb of Percussion (1)
- Chosing Flaking Tools ... Which Do You Use? (1)
- Clovis Points (1)
- collecting arrowheads (1)
- Dacite Arrowhead (1)
- e-magazine about Arrowhead Collecting (1)
- Edge Preparation In Pressure Flaking (2)
- flint knapping (1)
- Fluting Clovis Points (1)
- hammer stone (1)
- Indian arrowheads (1)
- Introduction to Making Stone Arrowheads (1)
- making arrowheads from chips of stone (1)
- making arrowheads from prismatic blades (1)
- newsletter about arrowheads (1)
- People (1)
- percussion for chips (1)
- Percussion Knapping (1)
- Pressure Flaking (1)
- Shaping An Arrowhead (1)
- Small Arrowheads (1)
- Small Point Pressure Flaking (1)
- Small Stone Arrowhead (1)
- soft hammer percussion (1)
- The QUIVER e-newsletter about arrowheads (1)
- Video of Making Arrowhead (1)
- What Kind Of Stone Is Useful For Making Arrowheads? (1)
- working with blades (1)


![[Most Recent Quotes from www.kitco.com]](http://www.kitconet.com/charts/metals/gold/t24_au_en_usoz_2.gif)